SSH is a secure way to connect to your hosting package. It is a better alternative to FTP. In this article we explain how you make a connection using an SSH key.
Also read: Make an SSH connection via your computer (with Terminal on Mac or Putty on Windows).
IN THIS ARTICLE:
Step 1: Create your SSH key
To use SSH, you need your own SSH key. You create it via your own computer. How to do this is explained below.
Follow these steps to create an SSH key with PuTTY:
- You can download a PuTTY private / public key generator at this address .
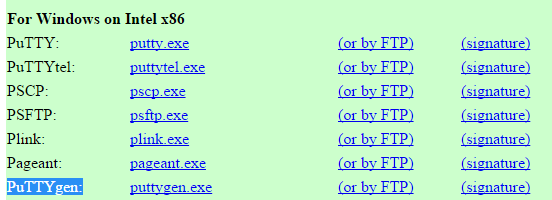

- Run the downloaded file.

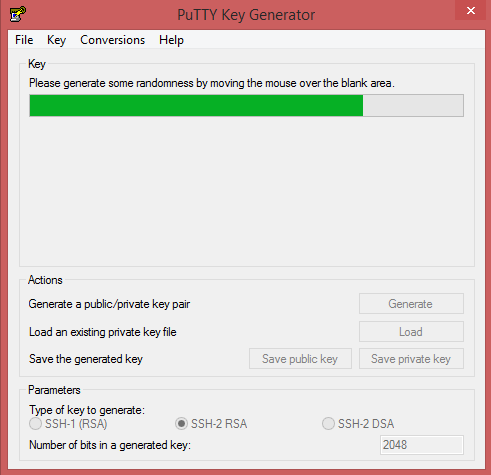
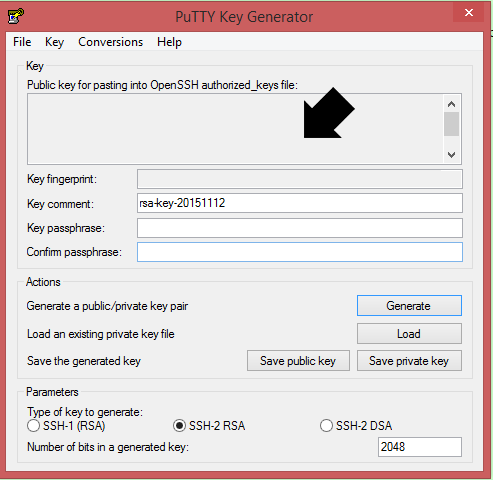
- Click on the Generate button.
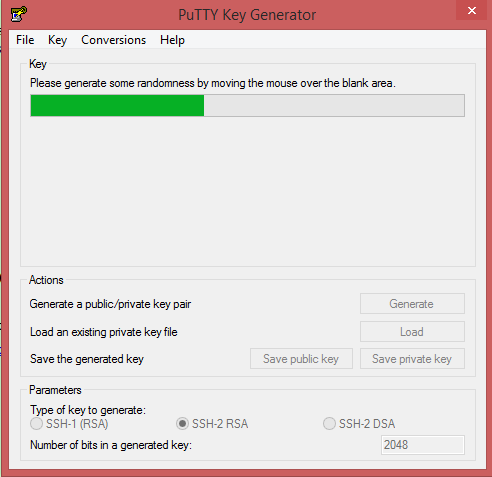
- To generate even more randomness, move your cursor over the blank area.
- Enter a password and confirm again.
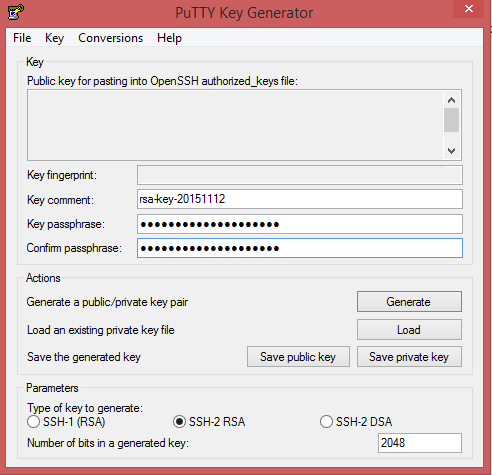
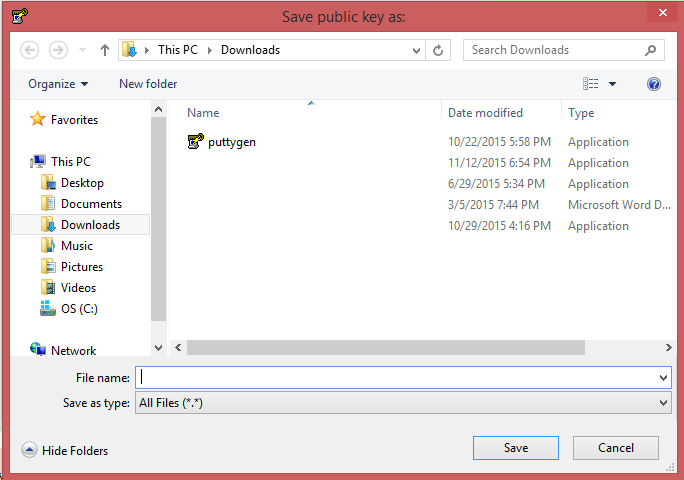
- Click Save private key and Save public key, and save the files in a place of your choice.
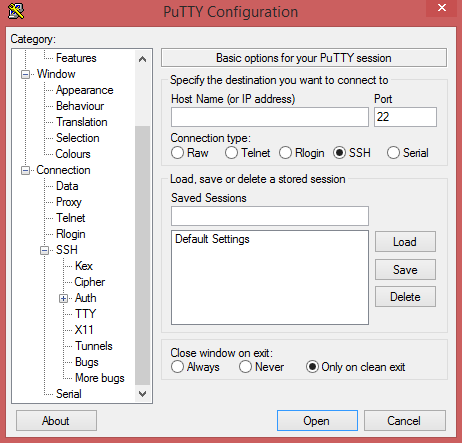
- You must configure the private key in your SSH client. In PuTTy you do that from SSH> Auth.
- You can copy the public key directly from the generator window. You will find it at the top of the field under the text “Public key for pasting into OpenSSH authorized_keys file”.
Follow these steps to create an SSH key in MacOS:
- Open “Terminal” and enter the following command to generate a new SSH key:
ssh-keygen -t rsa
- When the message “Enter file in which to save the key” appears, simply click “Enter” to save it in the suggested folder.
- Terminal will ask you for a password for your SSH key. Choose a strong password. Your computer will request this every time you connect via SSH.
- Confirm your password and you have created an SSH key.
Follow these steps to copy your SSH key to your clipboard:
- Open “Terminal” and enter the following command to list the SSH keys in your .ssh folder:
ls -lh ~ / .ssh
- Run the following command to copy the SSH key to your clipboard:
pbcopy <~ / .ssh / id_rsa.pub
Step 2: Enter your SSH key on the control panel
Follow these steps in the control panel:
- Go to “My products”> “Web hosting”> Click on “Managed hosting” next to the the domain for which you want to consult the hosting.
- In the menu on the left you choose “FTP & SSH” > “FTP”.
- Click on the toggle on the right to activate SSH.
- Scroll down and click on the link “Add” to add your SSH-key
- Add your new SSH key (or assign a key you already have in your hosting package) and click on “Add SSH key”
 .
.